
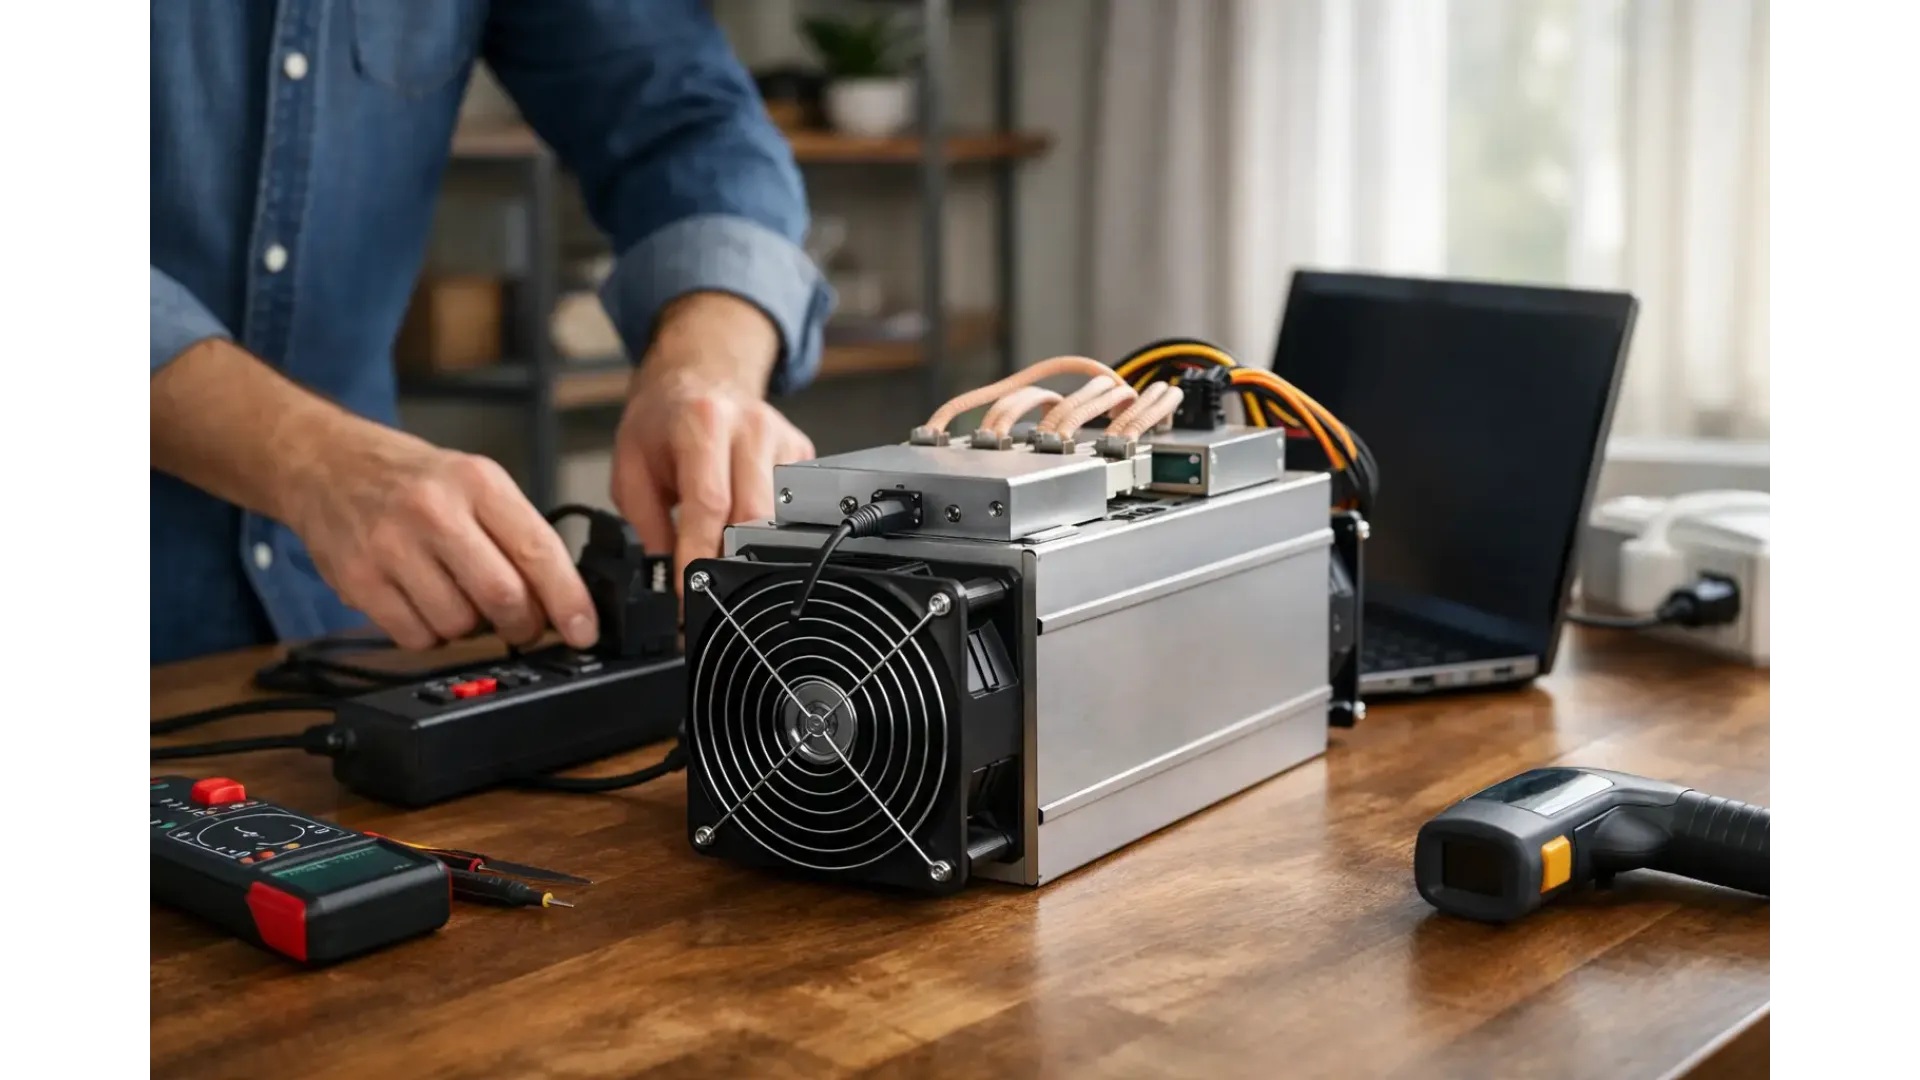
An ASIC miner is not a plug-and-play household appliance. Before learning how to set up ASIC miner hardware, confirm that your electrical supply, available space, ventilation and internet connection can support the machine you have chosen. A correct installation protects the miner, reduces avoidable downtime and gives you a clearer view of its real operating costs from day one.
This guide is aimed at home miners and small-scale operators using Bitcoin ASIC hardware. Exact menus, power requirements and fan behaviour vary by model, so always use the manufacturer’s specifications as the final reference.
Prepare the location before the miner arrives
The right location is usually more important than the first pool setting you enter. ASIC miners produce substantial heat and continuous fan noise. Even smaller units can be intrusive in a living area; full-size miners are generally better suited to a garage, utility room, workshop or properly ventilated outbuilding.
Choose a dry, clean space with a solid surface and enough clearance around the air intake and exhaust. Do not place the miner inside a sealed cupboard, directly on carpet, or against a wall that restricts airflow. The machine needs to pull in cooler air and discharge hot air without immediately drawing that same hot air back through its fans.
Dust is another practical concern. A clean room with filtered incoming air will usually require less maintenance than a garage used for woodworking, DIY or storage. If the location is dusty, inspect the miner more frequently and clean external grilles carefully with the machine powered off. Do not use water, domestic vacuum cleaners inside the unit, or anything likely to create static damage.
Noise travels through floors, walls and ducting. Consider your household, neighbours and any local restrictions before operating a high-output ASIC continuously. Sound-reducing enclosures can help, but only if they are designed to preserve sufficient airflow. A quiet miner that overheats is not a successful installation.
Check power requirements first
Electrical capacity is the point where many home setups fail. Read the miner’s rated power draw, required input voltage, connector type and recommended circuit arrangement before ordering cables or switching it on. A miner that consumes 3,000W continuously places a very different demand on a circuit from a low-power solo miner.
In the UK, full-size ASIC miners commonly require a suitable 220-240V supply and may need a dedicated circuit. Do not assume a standard socket, extension lead or multiway adaptor is appropriate simply because the plug fits. Continuous high loads can overheat unsuitable wiring, plugs and connectors.
Use the supplied power supply where applicable, or a compatible unit specified for your model. Check that power leads are correctly rated, undamaged and fully seated. Keep cables away from hot exhaust air, standing water and routes where they can be crushed or pulled.
If you are uncertain about circuit loading, socket condition or whether a dedicated supply is needed, ask a qualified electrician to assess the installation. This is especially relevant in older properties, rented premises and outbuildings. The cost of a proper electrical check is small compared with the risk of damaged equipment or an unsafe installation.
Before powering on, make a simple operating-cost estimate. Multiply the miner’s expected kilowatt consumption by your electricity tariff and 24 hours. That gives a useful daily electricity figure before pool fees, downtime and changing mining difficulty are considered. Mining returns are variable, so hardware should be selected with realistic expectations rather than headline hashrate alone.
Connect the network and find the miner
For most ASIC setups, a wired Ethernet connection is the preferred option. It is generally more stable than Wi-Fi and easier to diagnose when the miner drops offline. Connect the Ethernet cable to your router, switch or a suitable powerline network solution, then connect power and allow the unit to boot.
Startup can take several minutes. Fans may initially run at high speed while the miner completes its checks. Avoid repeatedly switching the machine off during this period unless you identify an obvious fault, such as an unusual smell, smoke, a damaged cable or a power issue.
You will need the miner’s local IP address to access its web interface. There are several common ways to find it: check the device list in your router, use the manufacturer’s IP reporting tool, or use a network scanner on the same local network. Once you have the IP address, enter it into a browser on a computer connected to that network.
The first login should include changing the default administrator password. Use a unique, strong password and store it securely. Leaving factory credentials in place makes a miner easier to access on a local network and creates unnecessary risk.
Update firmware with care
Check the installed firmware version once you can access the control panel. Firmware can address stability, security and compatibility issues, but updates are not something to rush. Download only firmware intended for your exact model and hardware revision, and do not interrupt power during an update.
If the miner is new and working correctly, record its original configuration before making changes. If it is pre-owned, inspect firmware, reset credentials where appropriate and confirm the reported model, hashboards and fan readings match the hardware you received.
Configure your mining pool account
A full-size Bitcoin ASIC normally mines through a pool, where participants contribute hashrate and receive rewards according to the pool’s payout method and their contribution. Solo mining is possible, but for most home miners it is highly variable and should not be confused with regular pool income. A dedicated solo device or node-based setup may suit a different objective, but the configuration principles remain similar.
Create an account with your chosen pool if required, then locate the stratum server address, worker name and password format. In the miner’s web interface, open the pool or mining configuration page and enter these details exactly. A typical worker name combines your pool account name with a worker label, allowing you to identify a particular machine later.
Add at least one backup pool where the miner supports it. This does not increase earnings by itself. It gives the miner an alternative destination if the primary pool becomes unavailable or your connection has a temporary problem. Use a worker name that describes the machine or its location, such as garage-s19 or utility-room-01, rather than leaving every miner with the same generic label.
Confirm the payout address and payment threshold in the pool account separately. The payout address is not always entered in the miner itself. Check every character carefully, particularly if you are copying it from a wallet. Transactions cannot normally be reversed if funds are sent to the wrong address.
Test performance without chasing numbers
After saving the pool settings, allow the ASIC to run for 15 to 30 minutes before judging its status. The dashboard should show a stable hashrate, accepted shares, fan speeds, temperatures and pool connection. Pool-side reporting may lag behind the miner’s local display, particularly during the first hour.
A small variation around the advertised hashrate is normal. Ambient temperature, firmware, power quality and pool reporting windows all affect what you see. Look for sustained warnings, missing hashboards, high temperatures, repeated restarts or a large number of rejected shares instead of reacting to every short-term fluctuation.
If the miner shows zero hashrate, start with the basics. Check that the Ethernet connection is active, confirm pool details are correct, verify DNS or router settings if the unit cannot reach the pool, and review the event log for board or fan errors. If a hardware fault is suspected, power the machine down safely and contact the supplier or manufacturer support before dismantling it. Unauthorised repairs can affect warranty cover.
Manage heat, noise and routine care
Mining hardware needs regular observation, not constant intervention. During the first few days, check the control panel several times to establish normal temperatures, fan speeds and hashrate for your room. Hot weather can change those figures quickly, especially in lofts, conservatories and poorly ventilated garages.
A basic maintenance routine should include checking intake areas for dust, confirming cable connections remain secure, reviewing pool worker status and watching for repeated error messages. Keep a record of the miner’s serial number, purchase date, firmware version and usual operating readings. These details make support conversations far quicker if a problem develops.
Avoid overclocking unless you understand the additional power, heat, noise and warranty implications. A higher hashrate setting can look attractive, but it may reduce efficiency or put extra strain on the power and cooling arrangement. For many home operators, stable standard settings are the more sensible choice.
A well-installed ASIC miner should become predictable: safe power, cool intake air, reliable Ethernet and clear pool reporting. Set those foundations first, then let the machine prove its performance over days rather than minutes.
Related Product
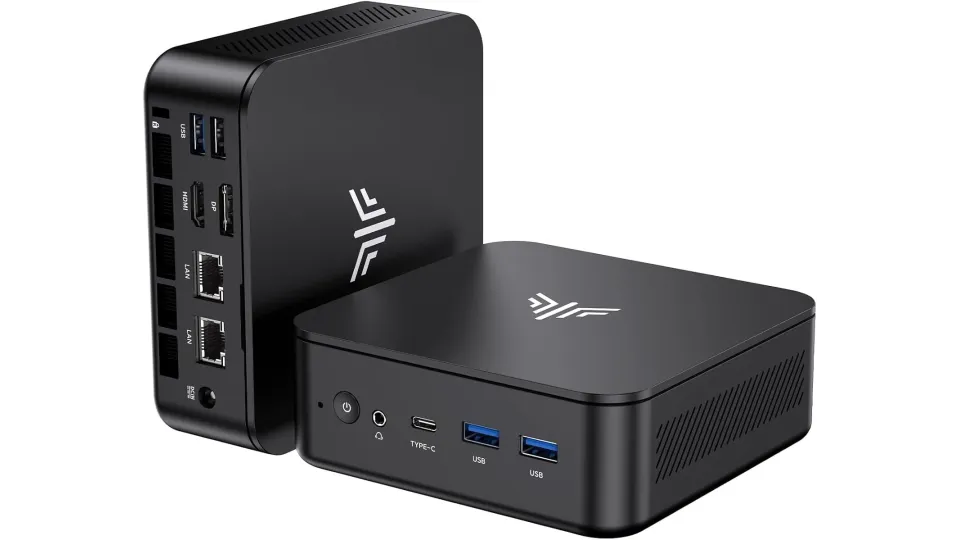
NIPOGI E3 Mini PC Ryzen 5 3500U Black | 32GB RAM | 1TB NVMe | 5tratumOS Node Ready
This compact and energy-efficient NiPoGi E3 Mini PC has been professionally configured as a multi-chain pool node system, running 5tratumOS on a high-..
£449.95
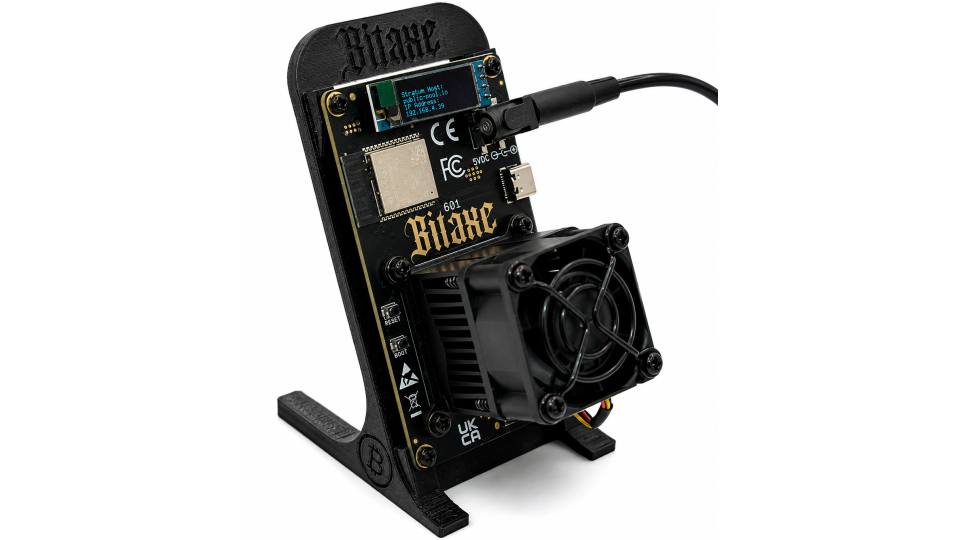
Bitaxe Gamma 601 Solo Bitcoin Miner – 1.07 to 1.2TH/s 18W BM1370
The Bitaxe Gamma 601 is one of the most powerful open-source single-ASIC Bitcoin miners currently available. Designed for desktop use, the Gamma repre..
£59.95
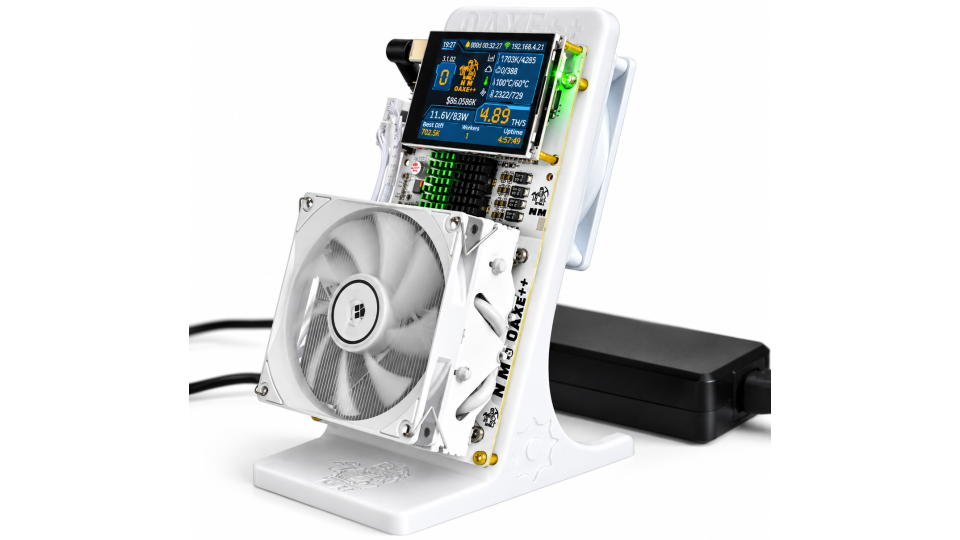
NMQAxe++ White Bitcoin Miner – 4× BM1370 – 4.8TH/s Default / Up to 5.7TH/s – Touchscreen
The NMQAxe++ ASIC Bitcoin Miner is a powerful four-chip SHA-256 home miner designed for enthusiasts looking for considerably more performance than a t..
£189.95